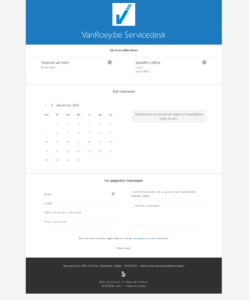
Part of Microsoft 365

You can start the application by selecting Bookings in your Office 365 overview portal or by going directly to the following URL: https://outlook.office.com/bookings.
How does it work?
You don't have to be a technician to make a reservation through Microsoft Bookings. The tool guides you step-by-step through the actions that need to be taken. We already describe some useful features that we came across during testing.
1. Add availability or opening hours
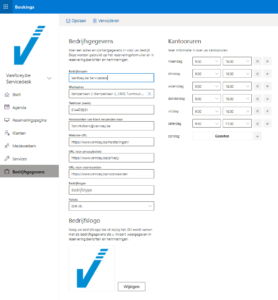
2. Pairing your Outlook calendar
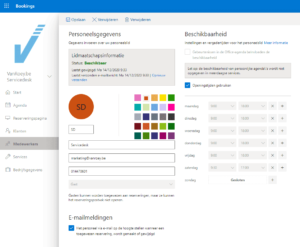
Note: if bby default, you will also be included in the list of employees. It took us a while to figure out how to disable this, but we found it: by linking employees to your services (see next point) you determine which employees will be visible on the reservation page.
workshop:
Join our SharePoint Online workshop on 22 April & discover how Microsoft helps you streamline your internal communication and documentation.
3. Manage services
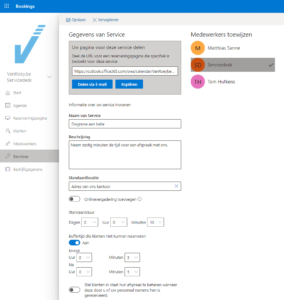
4. Setting the reservation page
Undoubtedly the most important element within Bookings: the reservation page. Both the layout and practical details (e-mail notifications, planning policy, availability, ...) can be fine-tuned here. Once all this is set up, you can also publish your reservation page here.
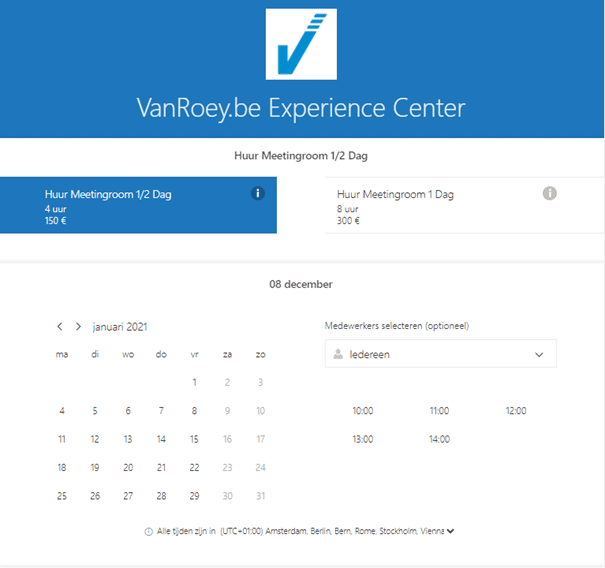
The result?
In less than 30 minutes we set up a basic but professional reservation page. With lots of automatic communication behind it such as confirmation mail, calendar-invite and reminder mails for a professional image. Test successful as far as we are concerned!
.
Our conclusion
Microsoft Bookings is definitely recommended when you need an online appointment system. Not only is it free for many Office 365 and Microsoft 365 customers, it is also very easy to use. We would like to go over a few pro's and con's:
Pro:
- Very easy to use
- Handy that you can choose which info you want from your customers per service
- Faultless integration with Outlook (both email and calendar)
- Customers can easily change or cancel appointments themselves
- Calendar invites, confirmation emails and reminder emails are sent automatically
- Included with Microsoft 365 Business Standard and Premium + Office 365 Enterprise E3 and E5
Contra:
- Limited design possibilities, especially with regard to formatting forms, this would be desirable.
- Reporting is limited to the number of reservations made and the estimated turnover for the last 30 days.
- Shared mailboxes cannot be set up as an administrator, which means you miss part of the Outlook integration (e.g. reading the agenda)
Getting started with Bookings or other hidden gems within Microsoft 365 discover? Do not hesitate to contact our specialists contact us!
VAT no.
share this post:
